Friday, November 30, 2012

Easy Lotion Bar Recipe - Another Great Gift Idea!


I was pleasantly surprised at how easy these lotion bars were to make, as well as by how well they actually work!  I love the scents and the fact that, when you use the bars, you don't have to take your rings off - you can just avoid them :)  Use them just as you would regular lotion.  One recipe makes five smaller bars and one larger bar (pictured above).  I hope you give them a try and enjoy them as much as I do!

(I found the recipe here.  I have basically condensed it and included exactly what I used to make the bars.)

Easy Lotion Bar Recipe - Peppermint-Cocoa Scented

1 cup coconut oil
1 cup cocoa butter wafers
1 cup beeswax pastilles
18 drops peppermint essential oil
approx. 1 tsp. Vitamin E

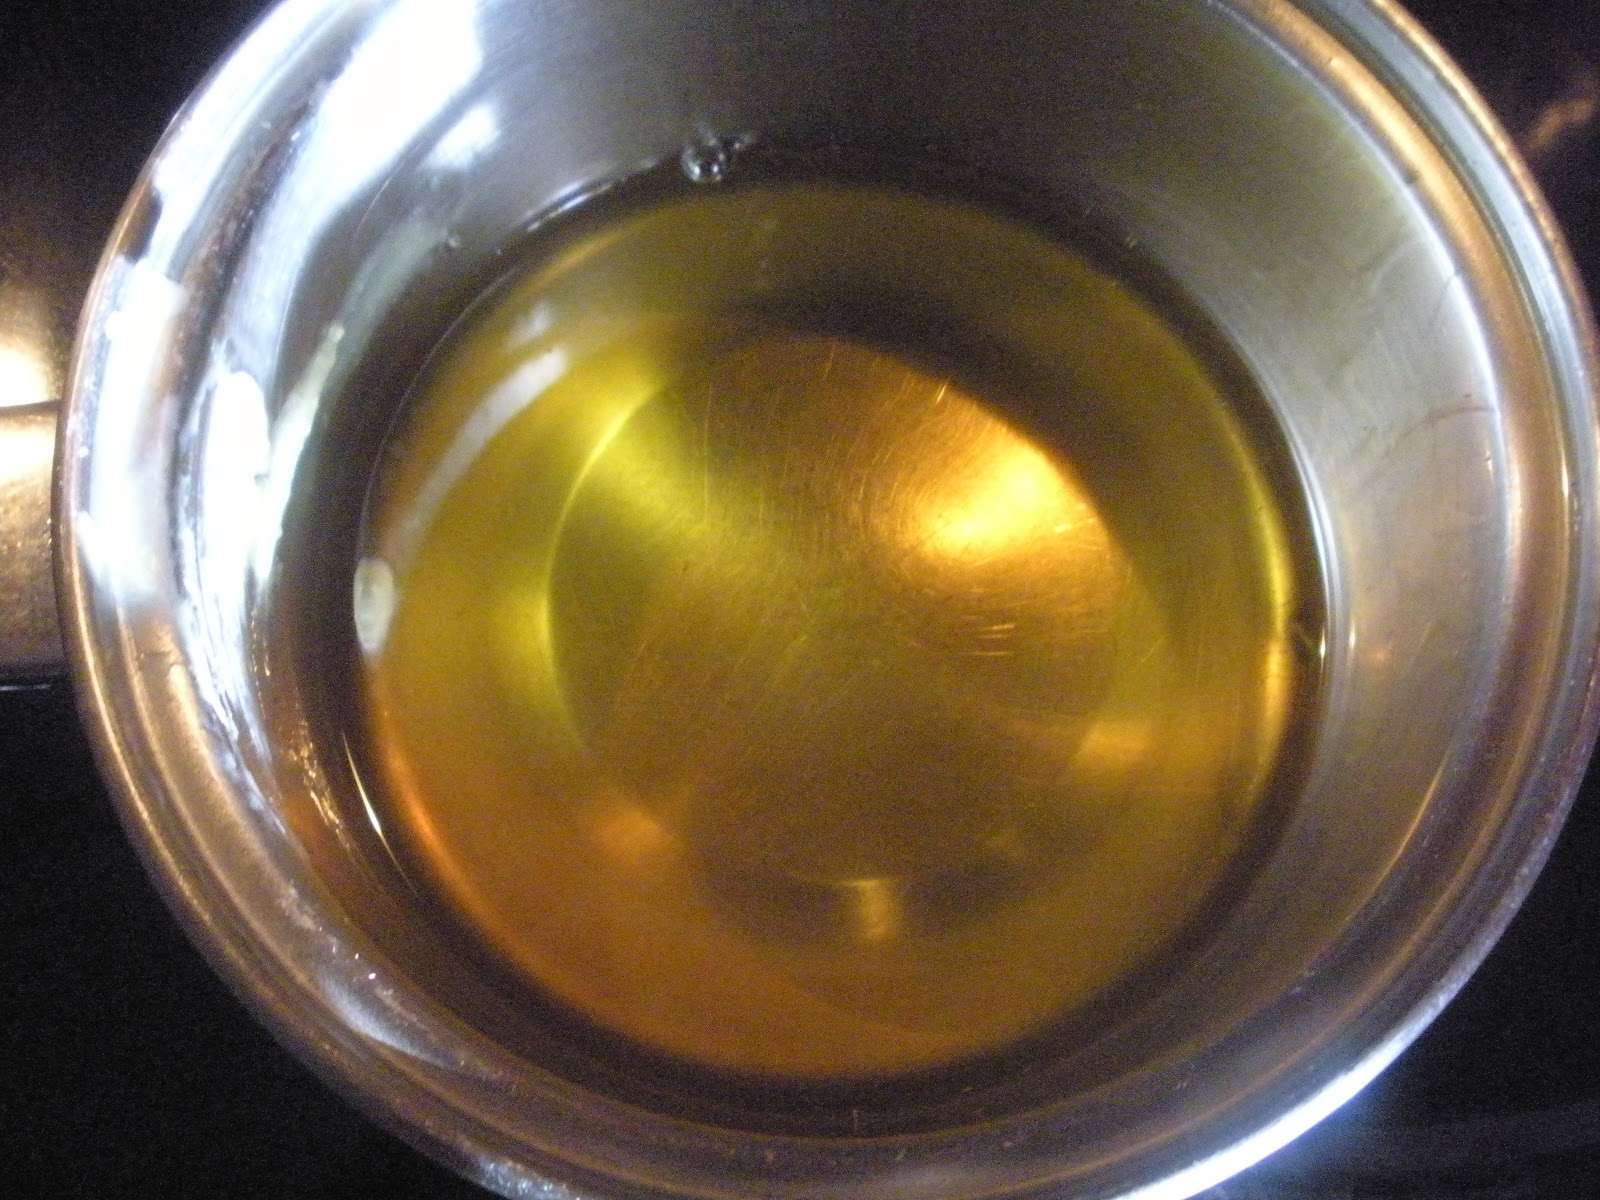
Directions:  Mix the oil, butter and beeswax in a double boiler (or small saucepan resting on top of a larger pan filled 1/3 with boiling water) dedicated to wax projects.  Melt completely, stirring occasionally with a wooden spoon.  Remove from heat and add essential oil and Vitamin E (I squeezed a few Vitamin E supplements into the mixture).  Pour into molds.  Let cool completely before removing from molds.

*Cleanup Tip:  Place the double boiler back on the stove, heat it up and wipe it out with a paper towel.  Place the spoon in the boiling water and then wipe it off with a paper towel as well.*

Easy Lotion Bar Recipe - Lavender Scented

1 cup coconut oil
1 cup beeswax pastilles
1/2 cup cocoa butter wafers
1/2 cup shea butter
45-50 drops lavender essential oil
approx. 1 tsp. Vitamin E

Directions: Mix the oil, butters and beeswax in a double boiler (or small saucepan resting on top of a larger pan filled 1/3 with boiling water) dedicated to wax projects. Melt completely, stirring occasionally with a wooden spoon. Remove from heat and add essential oil and Vitamin E (I squeezed a few Vitamin E supplements into the mixture). Pour into molds. Let cool completely before removing from molds.

*Cleanup Tip: Place the double boiler back on the stove, heat it up and wipe it out with a paper towel. Place the spoon in the boiling water and then wipe it off with a paper towel as well.*


Monday, November 26, 2012

How To Get Ink Off Of Microsuede...

I'm mostly posting this so that, when it happens again, I remember how to clean it when my child misses her paper and draws all over my microsuede chair with a blue pen!  The chair that we cleaned is a dark-sage color, so I'm not sure if this would work alright with light-colored microsuede (we also have an off-white microsuede couch - from experience, sometimes water marks show on that couch, but not on the dark-colored chair).  You'd have to do a patch test to be sure.  Happy cleaning!

1.)  Remove the pen from the offender's hand.  This is important.
2.) Make a paste out of baking soda and water.  Using a damp cloth, saturate the pen marks with the paste.  Let sit for at least an hour.
3.) Rinse the cloth with hot water and wipe off the baking soda paste.  By now, your ink marks should be greatly diminished, but not yet gone.
4.)  Take a toothbrush (not a used one, please,) and squirt some Dawn dish detergent on it.  Gently scrub the ink marks with the toothbrush until they are gone.

*My husband actually suggested the Dawn - I didn't think it would work, but, alas, it did.  I was very surprised, but pleased all the same :) 

Tuesday, November 20, 2012

Peppermint-Cocoa Lip Balm - Great Homemade Holiday Gift Idea!


I'll admit, I was hesitant to begin my foray into the intimidating world of making cosmetic/personal care products.  However, after taking the plunge, I'm LOVING it!  Not only does this lip balm smell good enough to eat, but it is comparable to the Burt's Bees chapstick that I usually buy.  I wanted to make something that was gentle enough to use on my two-year-old and didn't contain any petroleum derivatives, like most of the commercial chapsticks do (with the exception of Burt's Bees, of course :).  I found this recipe on Mountain Rose Herb's blog (modified slightly and doubled) and I'm so glad I tried it.  I don't think I'll ever buy commercial lip balm again.  I even made a variation of the recipe that is more of a healing, cooling-type lip salve (recipe coming soon). 

Beeswax is my new best friend.  It is a clingy friend, however, so you'll need to designate a pan and wooden spoon for this - and other - wax-related projects (I picked up a small saucepan at a garage sale for  .50 cents and chose one of my many wooden spoons for this particular project).  Also, you can find the supplies you'll need at Michael's, Pat Catan's or a similar store in the soap-making section, but I purchased mine online at Mountain Rose Herbs.  I am extremely pleased with their quality, and most of the items I purchased were organic and affordable (some things were MUCH cheaper than I saw at Catan's).  Give this recipe a try - you won't be disappointed.  Plus, as usual, your detoxed beauty bag will thank you.

Peppermint-Cocoa Lip Balm                                 

2 Tablespoon cocoa butter
6 Tablespoons sweet almond oil
2 Tablespoons plus 2 teaspoons beeswax pastilles
20-30 drops peppermint essential oil
A few drops of vitamin E oil (optional, but recommended - I just punctured a Vitamin E supplement and squeezed it in)


This is how it looks while melting...
To Prepare:  Place butter, oil and beeswax in a small pot or glass bowl and gently heat in the top of a double boiler (or larger saucepan with water in it) until contents have completely melted.  Once melted, remove from heat and mix in the essential oil and Vitamin E.  Immediately pour mixture into lip balm containers. (Tins are available at the link to Mountain Rose Herbs above, and I also saw them at Catan's.)  Allow to cool completely before placing lids on the containers.  Done!  You can now add some nice bling to the lids and give them away as gifts.  This recipe makes eight 1/2-ounce tins.

This is how it looks when melted and ready for essential oil.
**Cleanup Tip:  Place the pan back on the double boiler, heat it up, and then wipe it out with a paper towel.  If you try to use water, you will not succeed!  Then dip the spoon in the boiling water and wipe the wax off of it.  Much easier than how I initially tried to clean up :)**


Tuesday, November 13, 2012

Cabinet Detox Project: Use Vinegar, Not Chemicals!


Yes, I know, vinegar can't be used for every cleaning purpose, but I'd have to say it's effective for most cleaning purposes.  If you're trying to disinfect your house during a flu epidemic, you should not use vinegar; it's not effective at killing viruses.  However, if you're trying to get rid of mold or bacteria, use vinegar, not harsh chemicals!  In an article from CBS News (from a 2009 48 Hours special), the microbiologist for Good Housekeeping magazine put vinegar to the test:  the results of this particular test show that vinegar is about 90-percent effective at killing mold and 99.9-percent effective at killing bacteria.  I'd say those are some pretty promising results!

I have recently used straight vinegar to clean two things that no other commercial cleaner (besides bleach) could tackle - hard water deposits on my shower head, and those gross rings around the back of the bathroom and kitchen faucets.  For the shower head, I simply tied a bag of vinegar mixed with baking soda onto it and left it there for a few hours.  Then I wiped it off and it was good as new!  For the rings around the faucets, I soaked a few paper towels in vinegar and placed them around the faucets.  I left those on for about an hour and the grime wiped off cleanly with no elbow grease at all.  (Better instructions for both of these tricks can be found here.)  I was extremely pleased with the results of both experiments.

I regularly use vinegar to deodorize the house (just place a bowl half-filled with straight vinegar in the room you'd like to deodorize) and as a general cleaning spray that I mostly use in the bathroom.  (I fill an empty spray bottle with straight vinegar and add a few drops of tea tree oil essential oil.)  Not only does this cost me less than buying several bottles of commercial deodorizers and cleaning agents, but it also spares my lungs from inhaling any harsh chemicals.  Vinegar is a welcome addition to my detoxed cabinet.

Saturday, November 10, 2012

Honey Puffed Rice Cereal - No Sugar, Preservatives or Artificial Anything!


Several months ago, I found a variation of this recipe and have been making it every week since.  The kids LOVE it, it costs less than buying 2 to 3 boxes of cereal per week (which I would otherwise be doing), and it is not loaded with sugar, preservatives, artificial colors or hidden ingredients.  It's also great with yogurt and fruit!

Honey Puffed Rice Cereal

1 6-oz bag of puffed rice cereal*
2 sticks of butter
3/4 cup honey
1 tsp of cinnamon (or sprinkled to taste)

*I get my puffed rice cereal from Super Wal-Mart - no preservatives and it costs $1 per bag.  I've noticed that not every Super Wal-Mart carries it, however.

Directions:  Heat oven to 375-degrees Fahrenheit.  Divide the rice cereal between two cookie sheets.  Bake for 8 minutes.  While the rice cereal is in the oven, melt two sticks of butter in a glass measuring cup.  Add honey and stir until incorporated.  Divide the butter mixture between the two cookie sheets.  Mix to coat the cereal (I use a spatula).  Sprinkle with cinnamon and mix again.  Bake one more time for 10 minutes.  Let cool for 1 to 2 minutes, but make sure to use a spatula to scrape and mix each pan before it gets cold (otherwise, it will stick to the pan).  Let cool in pans.  Place in airtight container.  This batch usually lasts us 1.5 weeks.